
Painting Your Kitchen
So, if you’re reading this then you are probably thinking about or have decided to go ahead and paint your kitchen cabinets. Not only will you will save a small fortune by doing so, you can choose any colour or pattern you desire, making it totally unique. However, as this is a long blog, make yourself a cuppa first and get comfy before you read on.......
I don't purport to be an expert in this field, but my blog is based on my own research and experience of painting my own kitchen units (twice) and the laminate units in my shop. You definitely learn as you go! This blog is about tips and advice to make the paint job as stress free as possible.
Now, painting a kitchen is no quick job if you want to do it right and, depending on the size of your kitchen, then it’s probably something you don’t want to do often or ever again. My advice would be to get the prep right and it will last.
Firstly, try and set aside a work area that doesn’t need cleaning up at the end of each day, leaving items time to dry overnight if need be and not be at risk of damage from moving around. I would even recommend some pre-made meals that just need reheating or throw caution to the wind and eat out or have takeaways some evenings too. (Maybe that’s just me looking for excuses not to cook!)
Start working in sections, ie. the top cupboards first and then the under-counter cupboards so the whole process doesn’t feel daunting. When doing it this way you can see the kitchen come together quicker and you will also get a feel for the colour and look you have chosen.
The Dreaded Prep
This is a very important process and the most tedious of all. Stick with it because it’s worth it.
You must clean your cupboards and carcass/framework thoroughly to degrease the units and give yourself a good base for the primer and/or paint. Remove the cupboard doors and preferably number them so that they go back in the right place. This may seem like overkill, but slight warping can happen over time and this will save you a lot of hassle when putting the doors back on at the end. Do the same with the handles and hinges so everything goes back in and on it’s rightful place. Some drawer fronts can be removed by unscrewing them, leaving the drawers intact
TSP by Fusion is a great degreaser and is kind on the environment too. Clean using a scouring sponge until you’re happy that there is no grease residue on your cabinets. Some people like to scuff sand before priming and that's a good idea. However, if your cabinets are thoroughly clean and you are using Zinsser BIN or BIN AQUA then this isn't mandatory. If you have cupboards coated in laminate then priming is required, but if the laminate is coming away in places, then you need to remove it entirely. This process will continue regardless of painting.
If you’re looking to change your handles or knobs, now is the time to fill or drill any new holes for your new hardware. A quick drying, non-shrinking filler will be adequate for this. Slightly overfill any holes and when completely dry sand smooth and level for your base product. (Remember to wipe away any sanding dust from your doors).
Tape up your walls and/or tiles with the masking tape where they meet the carcass of your kitchen and along the floor if you are unable to remove your kick boards. Try and remove these if you can as it’s much easier. Remove hinges and knobs and drawer fronts if possible and label and bag for each door.
For solid wood kitchens then a primer (see below) would be ideal to block any oil or tannins that are ingrained in the wood and can bleed through into your paintwork. Knotty wood requires Zinsser BIN/BIN AQUA.
For a gloss finished kitchen, then a base coat of Ultra Grip is sufficient.
Now you can start applying your chosen base product. I would start on the inside of the doors and then work around to the front (painting inside the doors is optional, but does give a professional finish). Use a mini roller for speed and avoid any brush marks. When dry, if you feel or see any raised parts of primer, gently sand until smooth. A smooth base product is just as important for your finish as smooth paintwork.
Repeat the process with your kitchen carcass and side panels until the section you’re working on is primed. Now you can either start painting or continue the cleaning and priming process on other sections. If choosing the last option, remember that any fatty/oily cooking undertaken during the painting process may leave new greasy residue ON TOP of the primer and defeat the process of cleaning and priming. (Now you see where I was coming from with the pre-made meals and takeaways).
To save you the hassle of cleaning your brushes or sponges overnight, pop them in a freezer bag or wrap in cling film and expel any air so that they don’t dry out. They will be ready to use again the next day.
FYI:
- Zinsser BIN is shellac based and requires Methylated Spirits for clean up
- NEW Zinsser BIN AQUA is a new water-based stain blocker and knot sealer primer, as an alternative to Zinsser BIN (above). It also has ultra low VOCs.
- Zinsser Cover Stain is oil-based and requires White Spirits clean up
- Ultra Grip is water-based and requires warm, soapy water for clean up
- Fusion Mineral Paint is water-based, also requiring warm soapy water for clean up
The Best Part
Once you’ve prepped and applied your primer or Ultra Grip you’re ready to paint. Fusion is a great choice for this job. It is NOT a chalk paint, but an acrylic water-based paint that contains a built-in resin. This leaves you with a self-sealing, matt finish that doesn’t require an additional product like wax or varnish. As Fusion has superb coverage, the majority of colours in the range will cover your kitchen in two coats. Whites and reds will need a coat or two more (as is the case with most brands really).
If you’re going for a white or red finish on your kitchen units, there are two options available to limit the coats required:
- Apply a light grey shade of Fusion (like Sterling) as your first coat and then your preferred white or red on the top.
- If using one of the Zinsser primers, they are tintable (with colourants only).
When applying your desired colour, allow enough time for each coat to dry properly. Fusion does dry quite quickly, but do take into account the temperature/humidity that you are working in. This will affect your paint drying time, especially if it’s too cold or humid. I recommend working in good light and then leave the first coat to completely for a few hours. Don’t overload your brush or roller. A little Fusion goes a long way. As it is also self-leveling, the thinner the application the smoother the finish and it is non-toxic, so it’s kinder on you and the environment.
Painting a Pre-Painted Kitchen
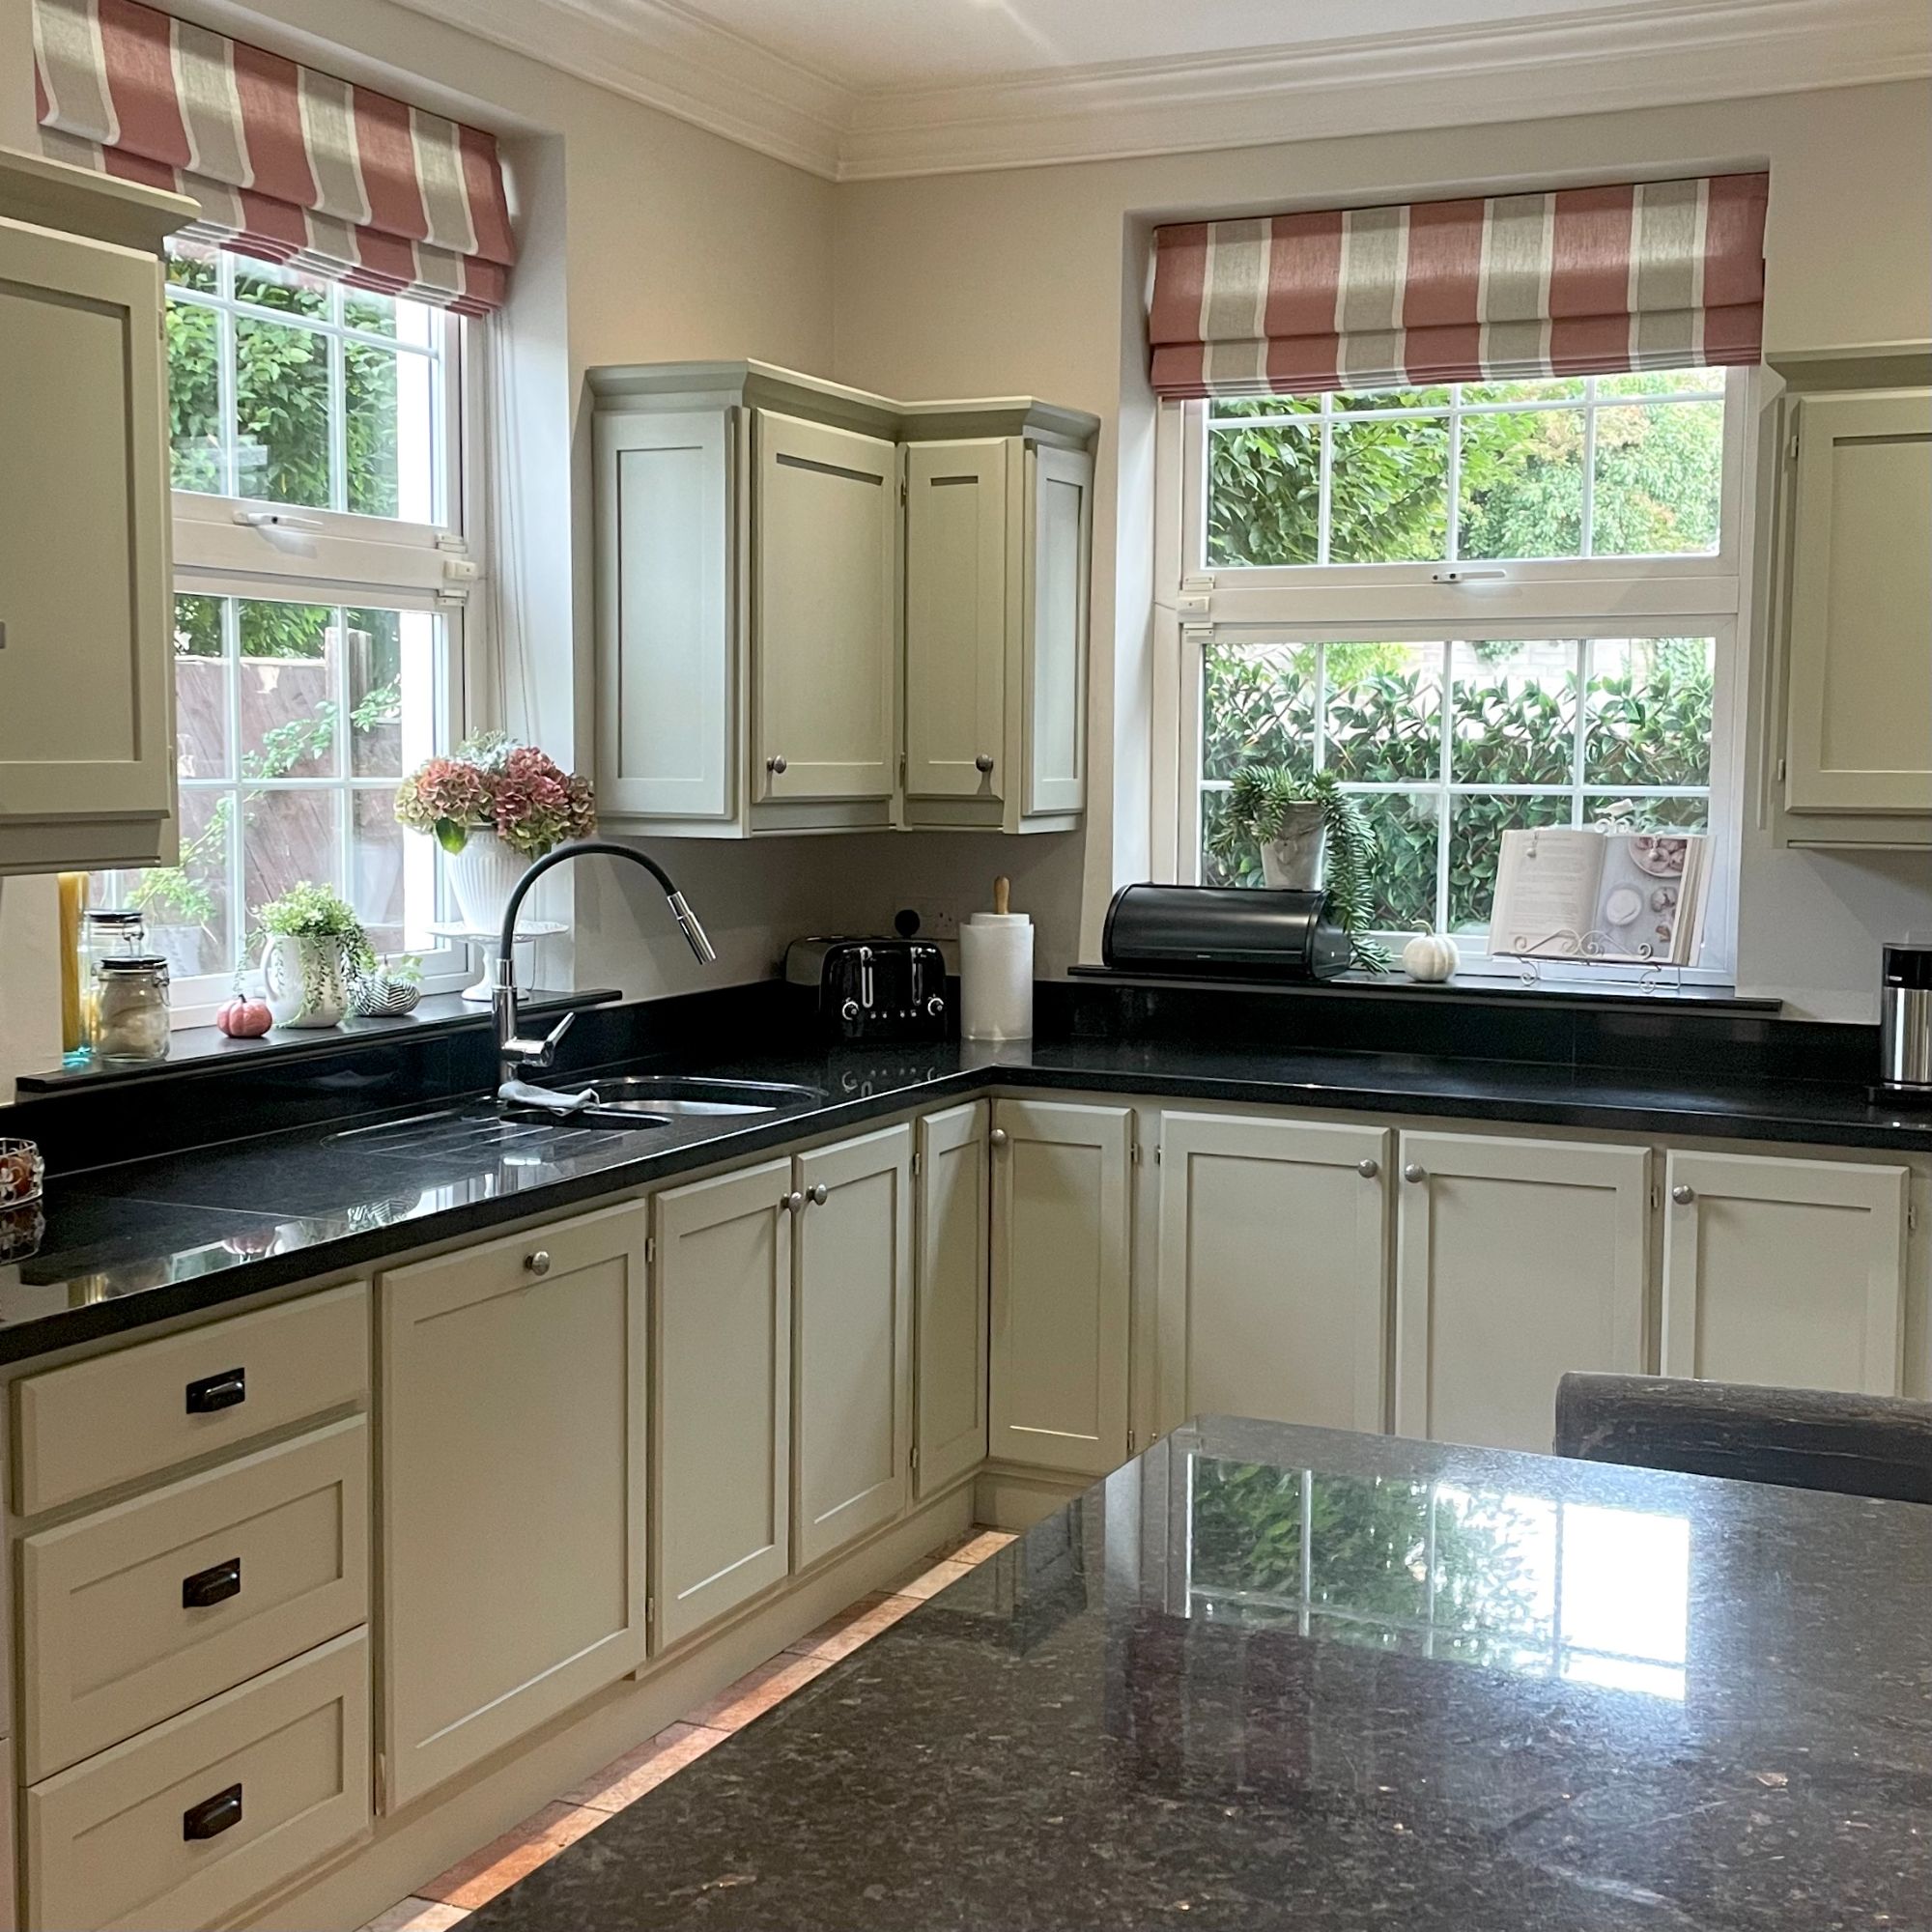
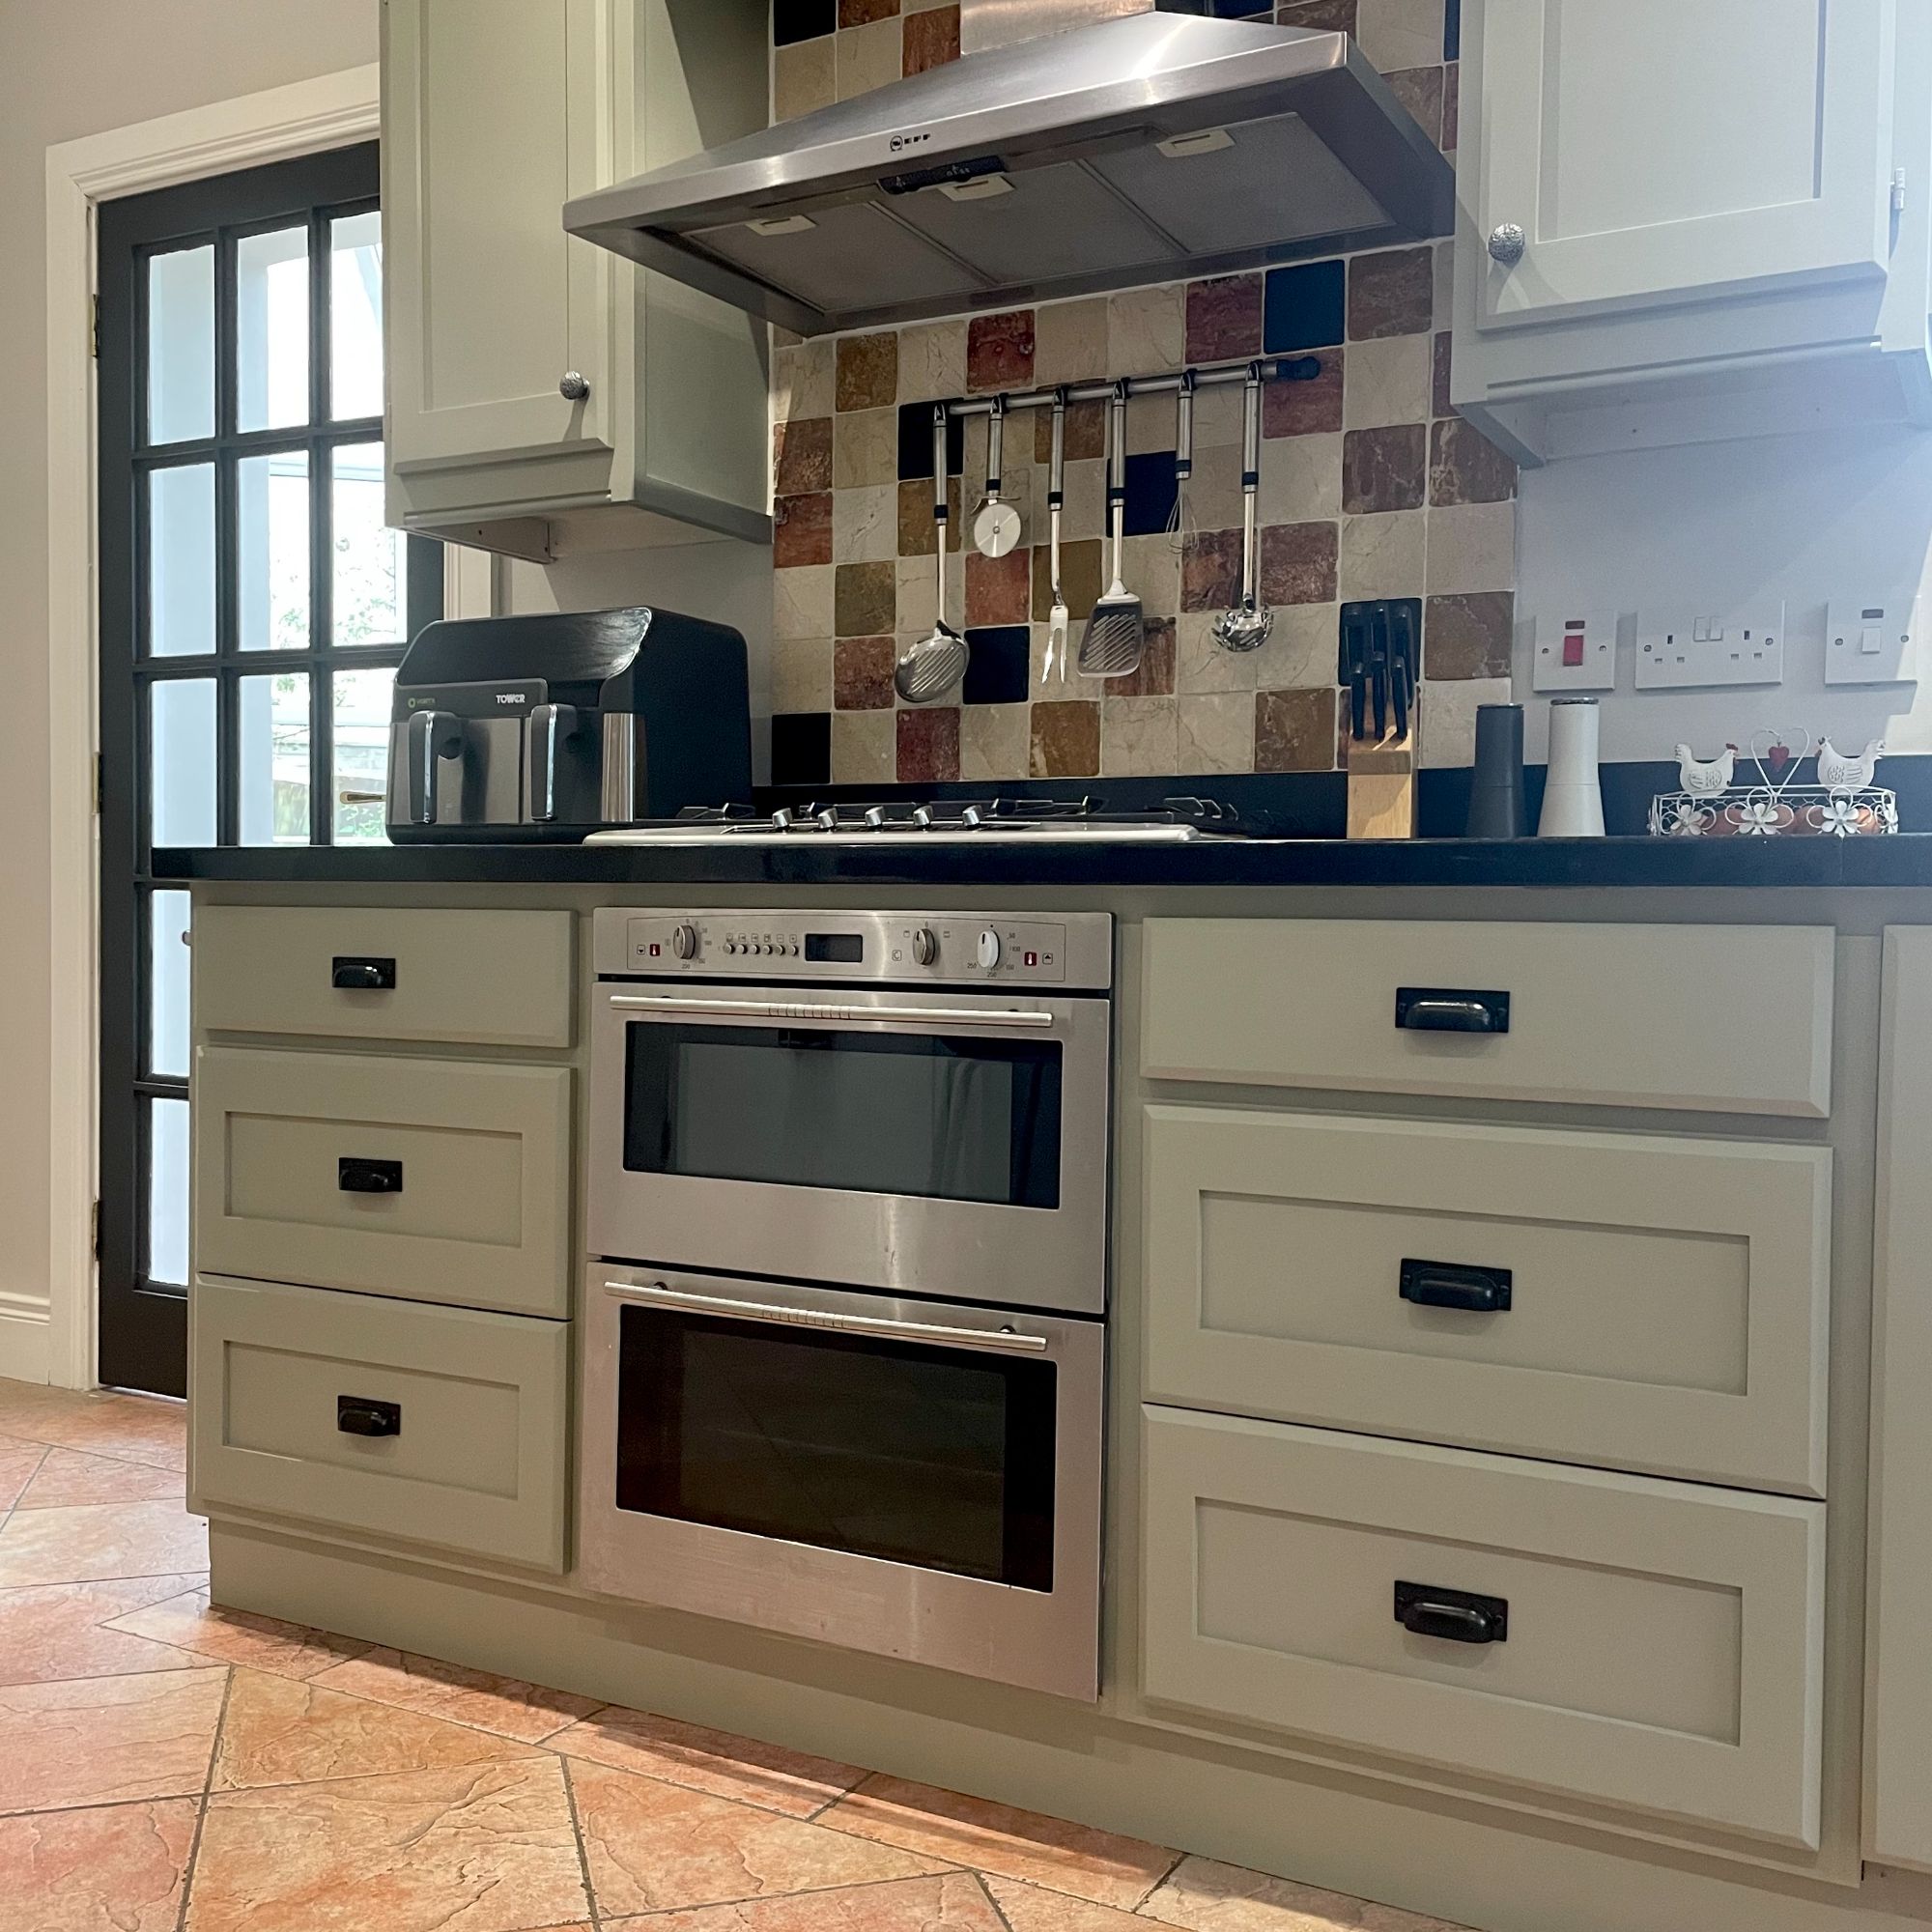
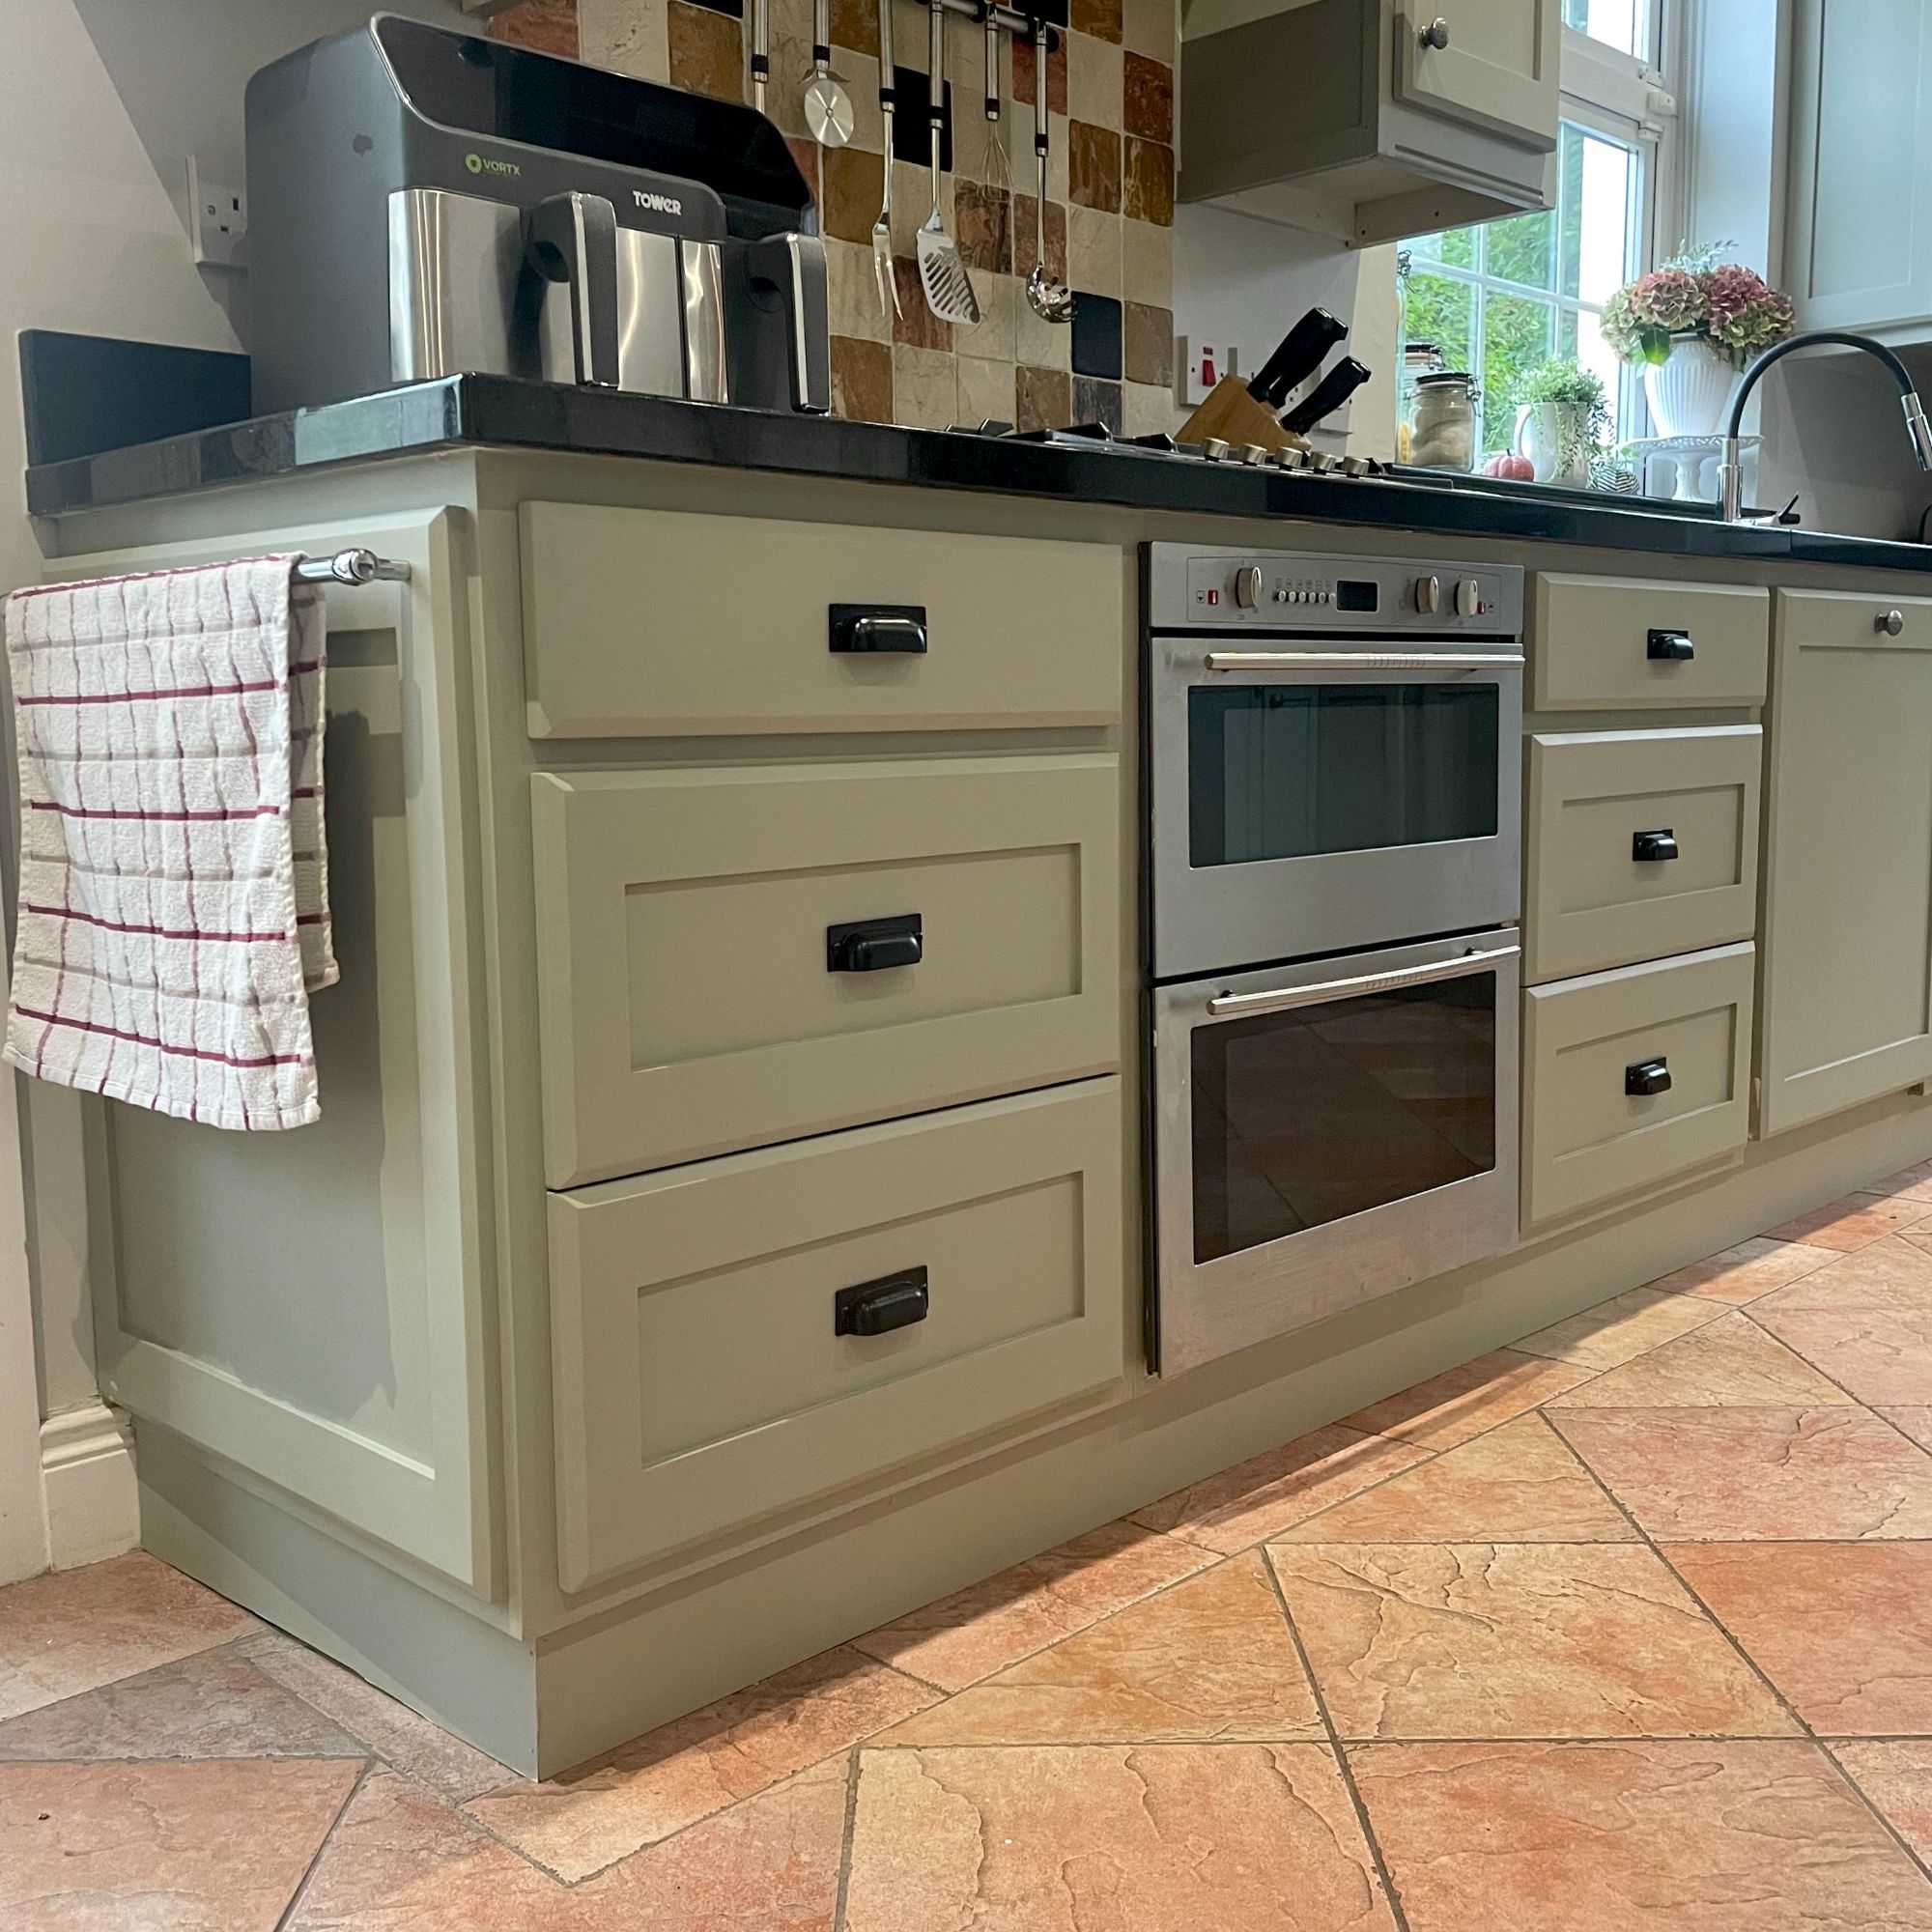
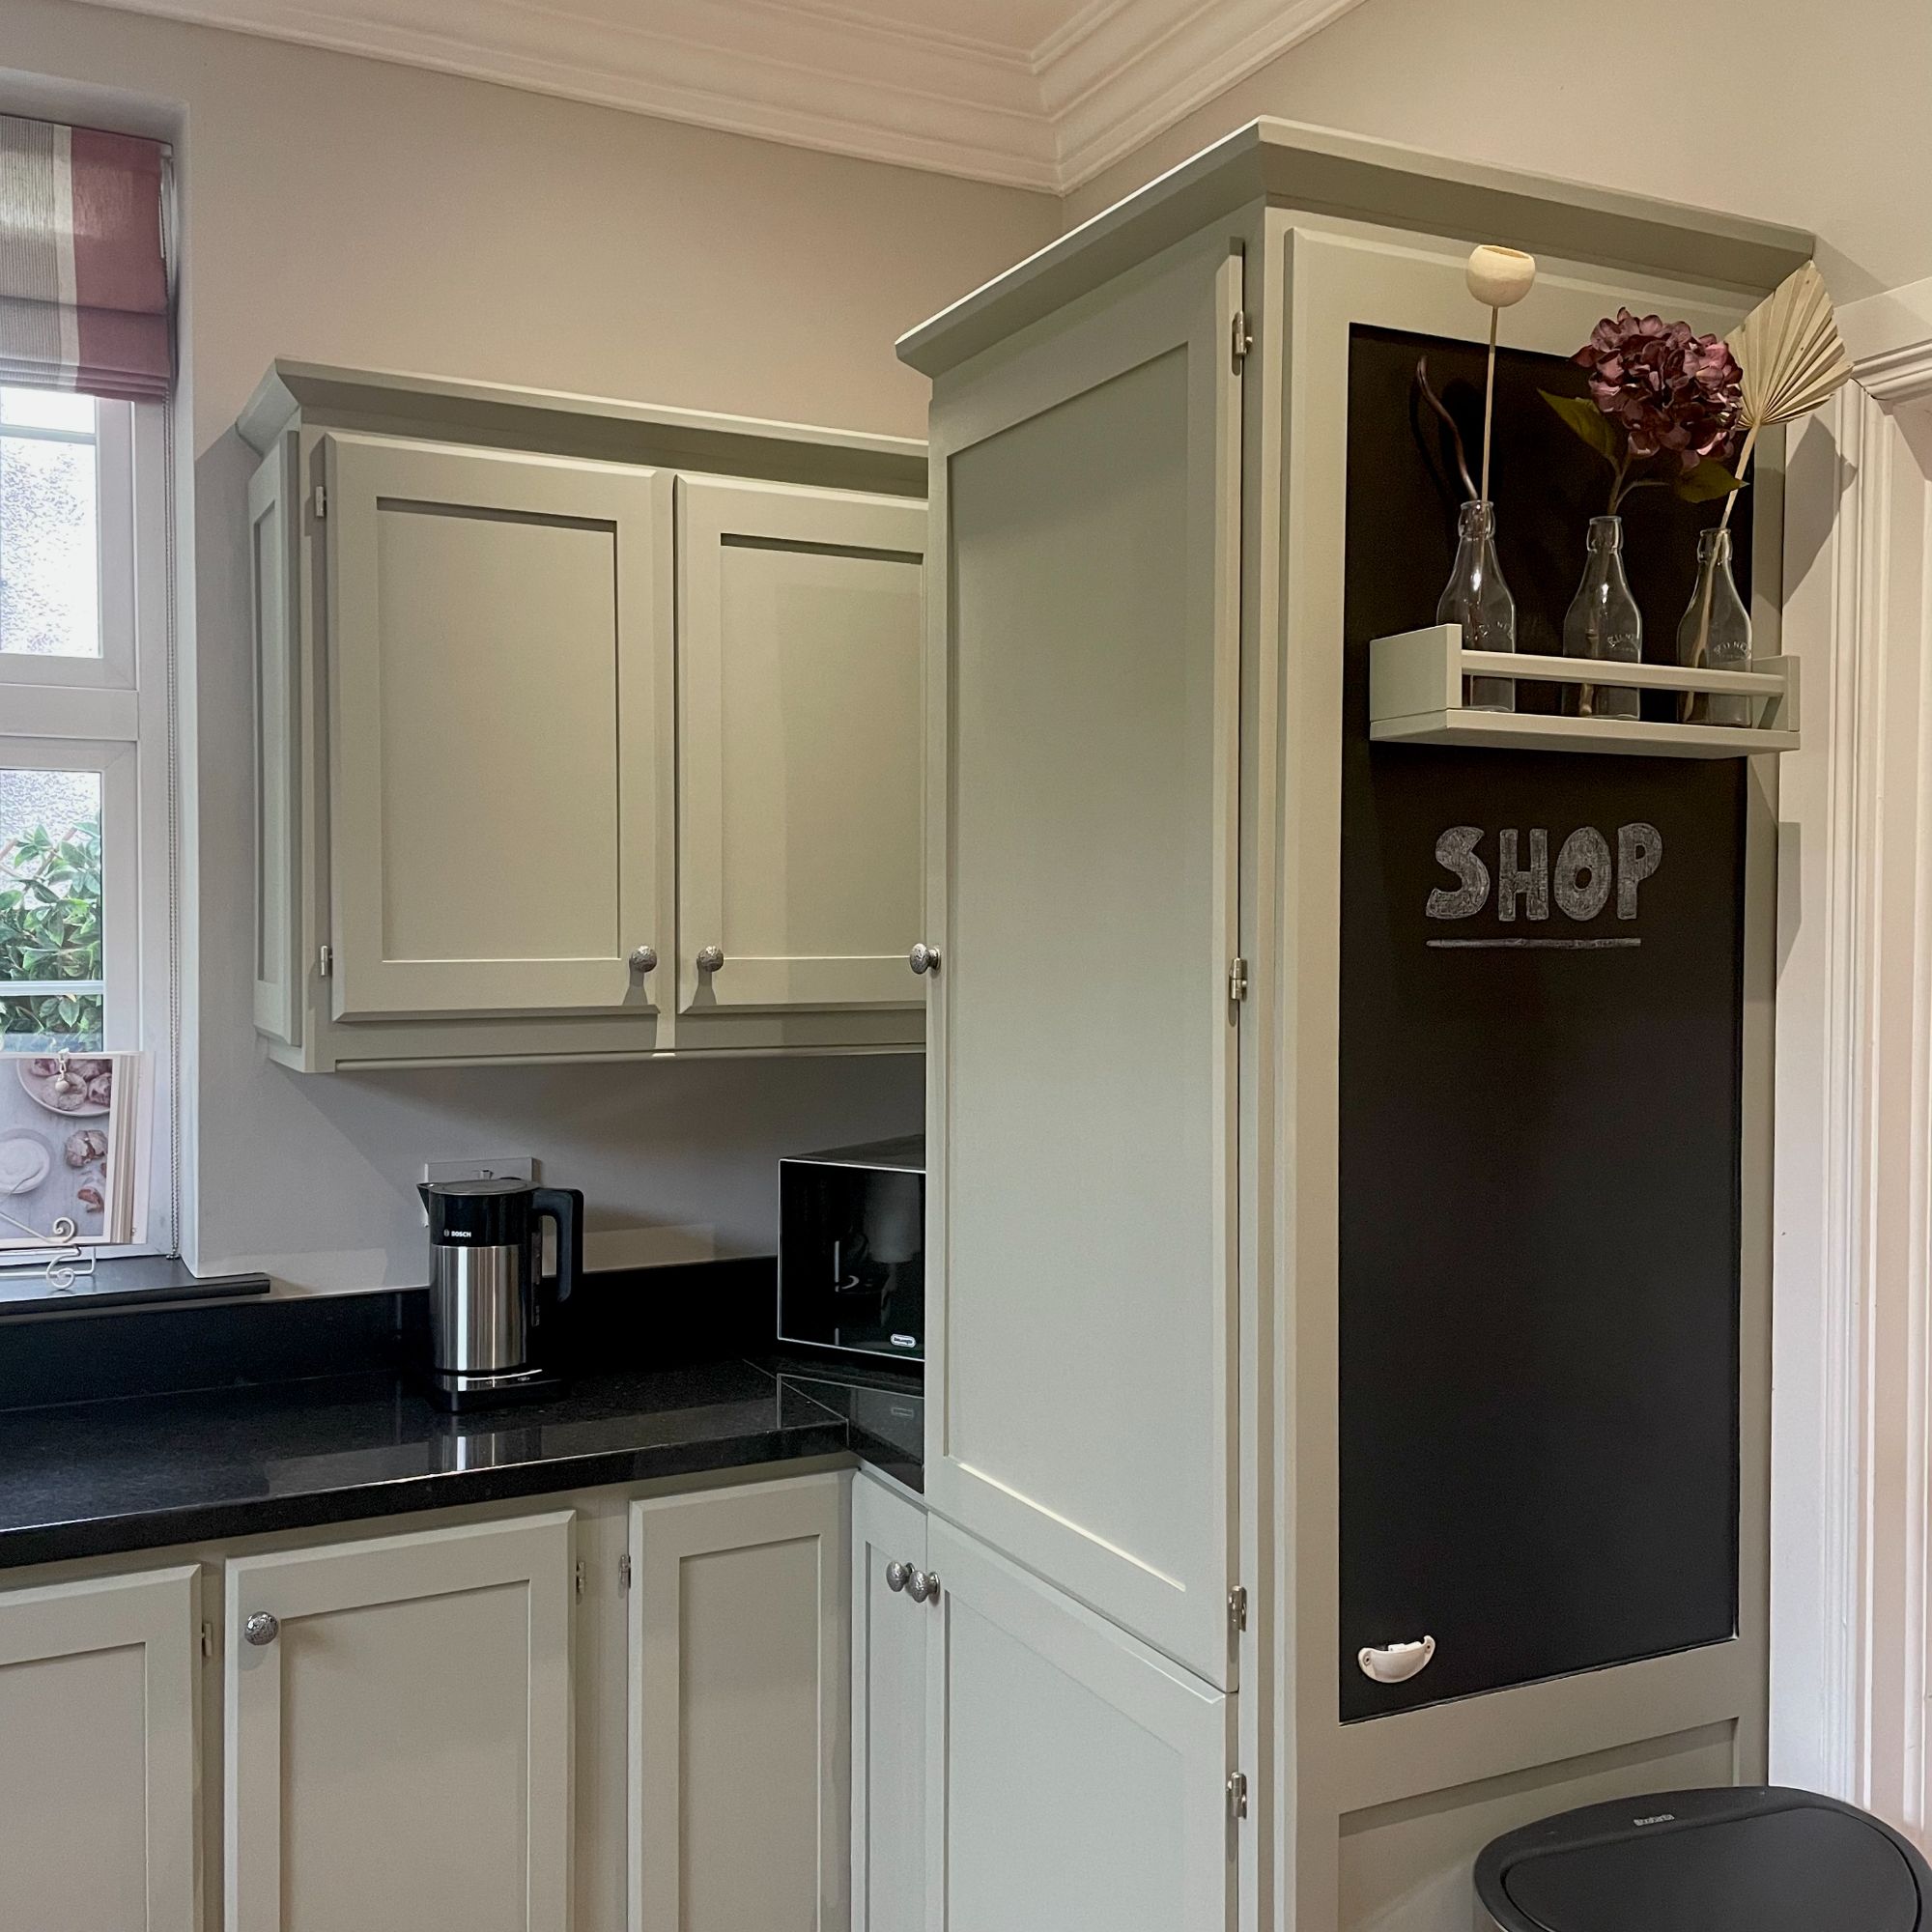
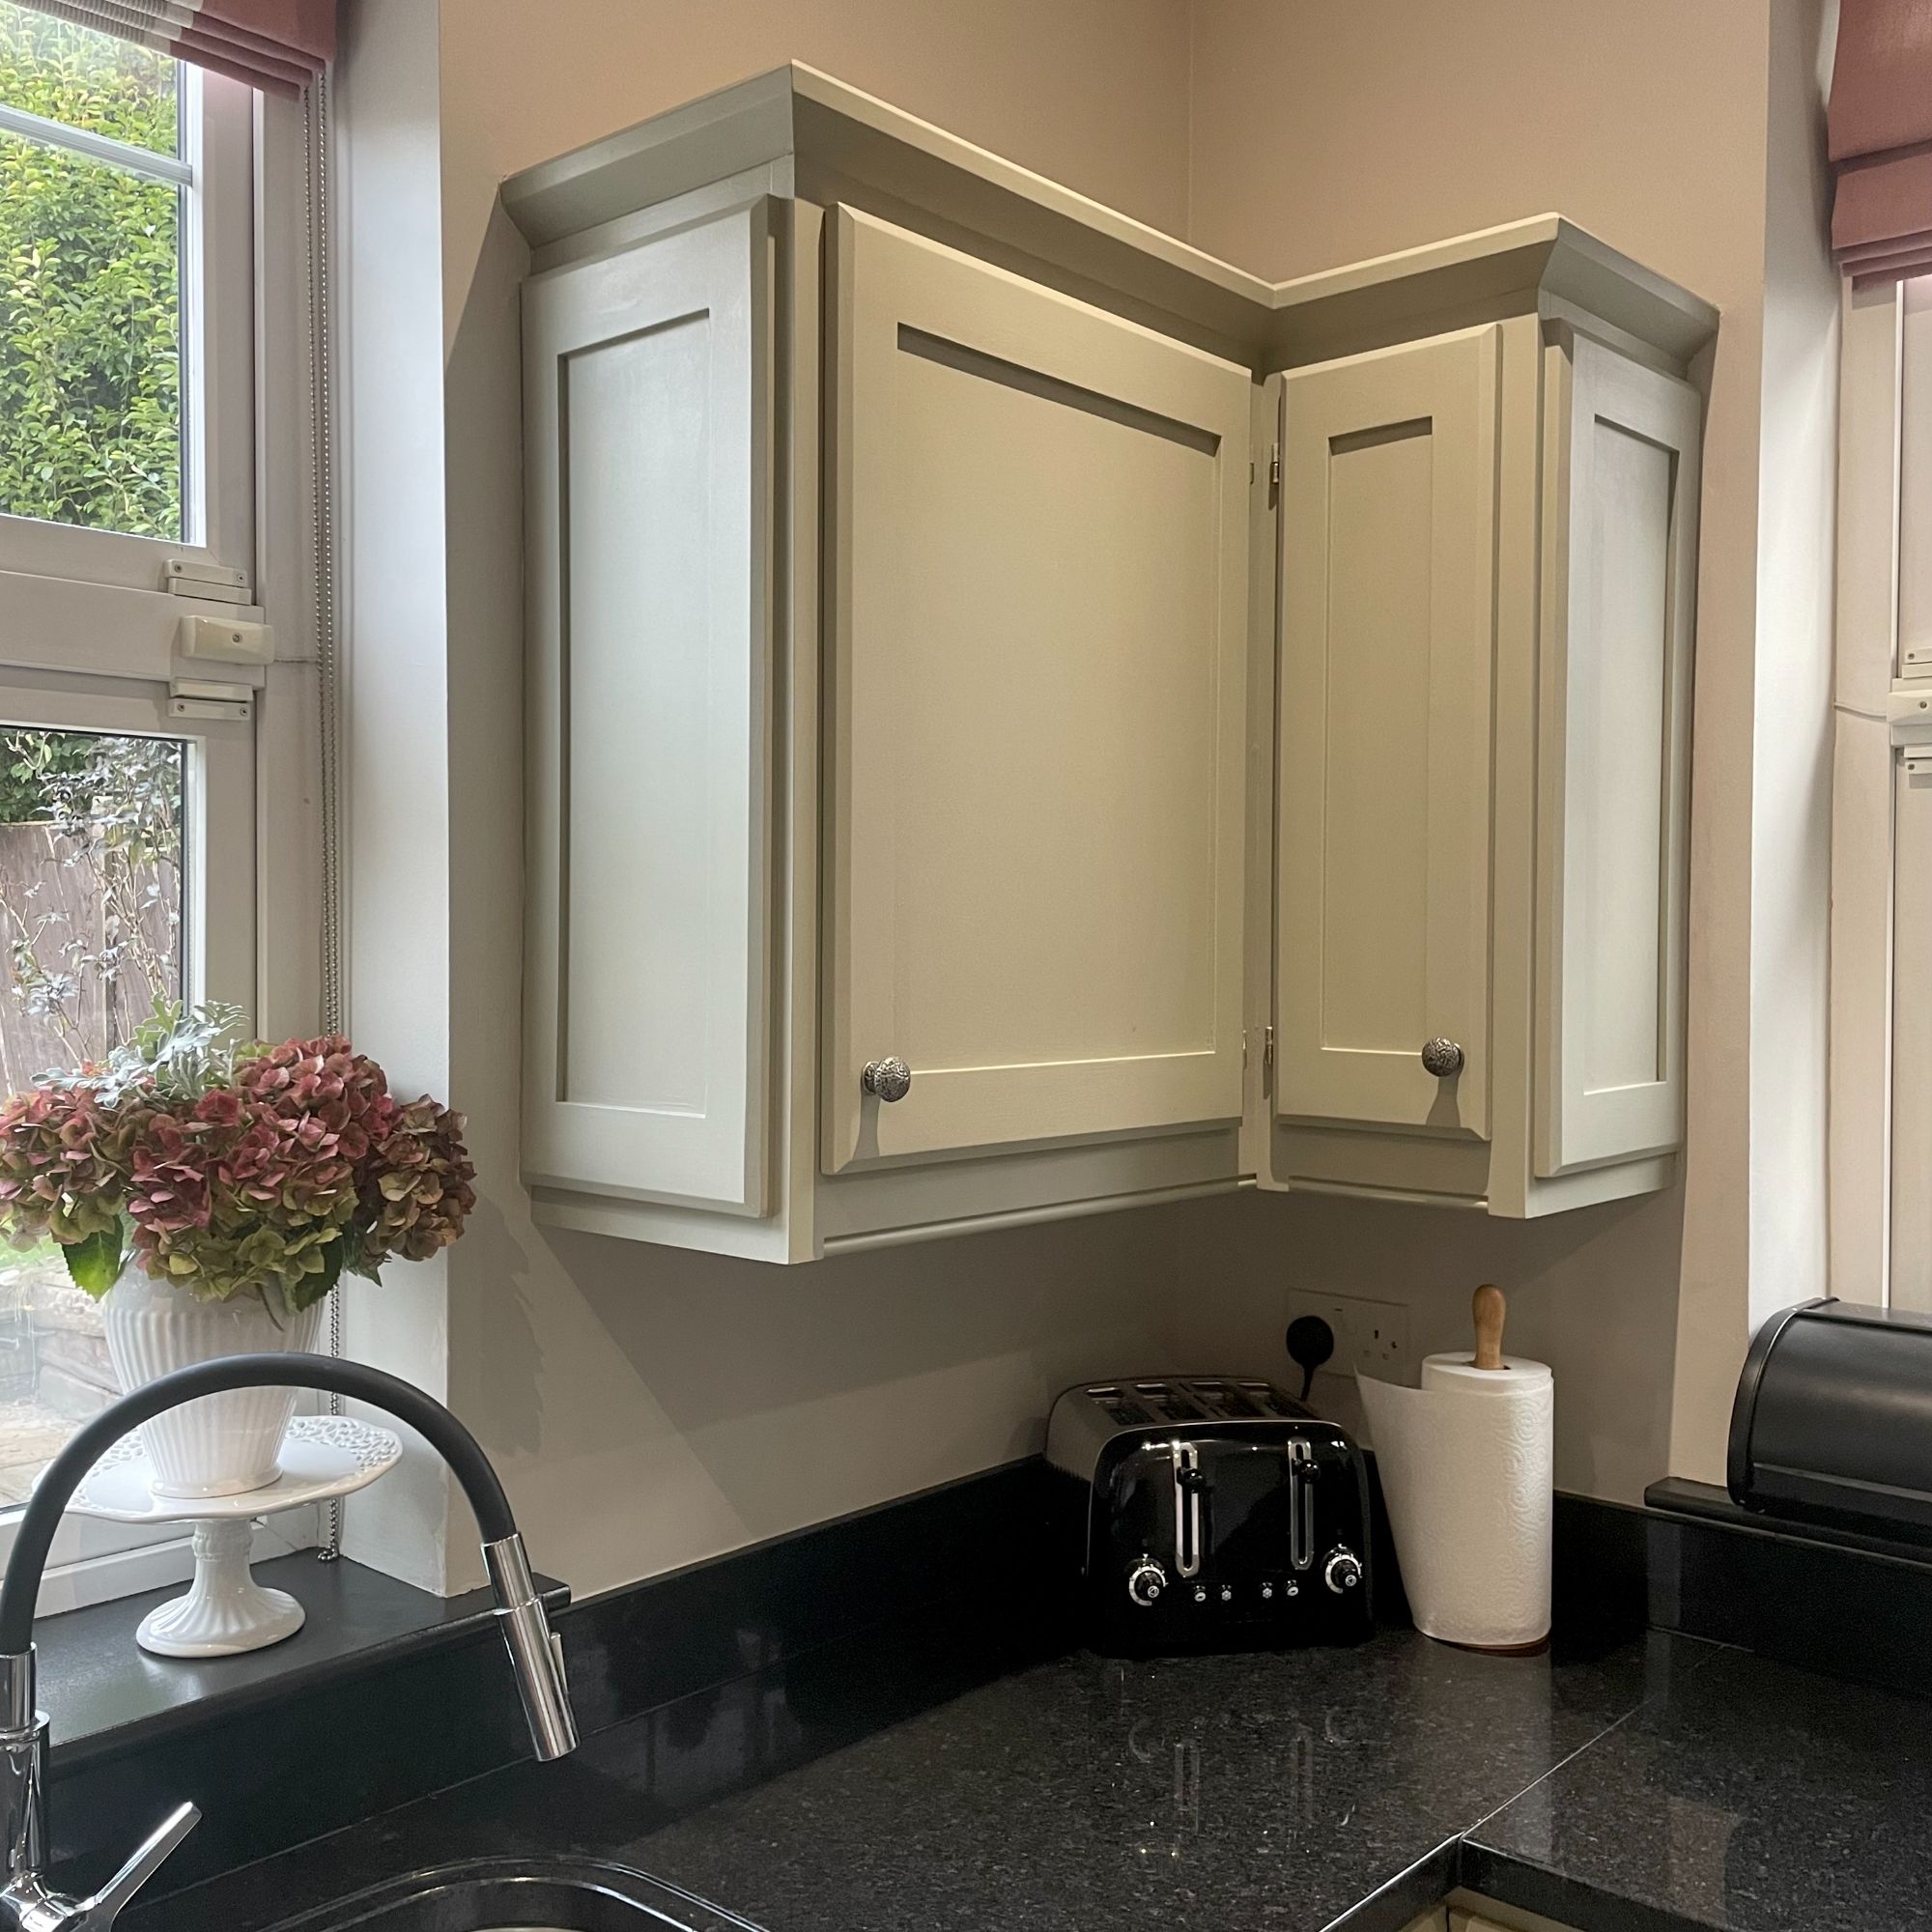
In this instance, I had already painted my kitchen 8 years ago and had done the necessary prep detailed above. As the existing paint finish had adhered well (with slight wearing around knobs etc) all I had to do in this instance is thoroughly clean, scuff sand and clean again (backup cleaning for my peace of mind). Then I applied Fusion's Eucalyptus directly onto the doors (no primer). I applied 2 coats to the back of the cupboard doors and 3 coats on the fronts and everywhere else, with a roller. I used a total of x2 full 500ml pots of paint to complete the entire kitchen - that's 22 doors, 6 drawer fronts, 9 end/side panels and the frame and kickboards. Now that's pretty impressive!


Here’s a checklist of useful items you’ll need to complete your kitchen transformation:
- Take a BEFORE photo (very important when you’re showing off you handi-work)
- Dust cloths or old sheets/duvet covers (for underneath your cupboard doors and to lay across your worktops)
- Post-its or a labeling system
- Flat head or Philips screwdriver for removal of knobs/hinges
- Containers/small bags for your knobs and hinges
- TSP cleaning solution
- Fine or medium grade sandpaper
- ‘Risers’ for your doors to lie on (can be old plastic bowls, cups etc). This will help give you a raised area to paint the edges of your doors.
- Primer or Ultra Grip
- Two Fussy Blokes roller(s), in Semi or Smooth and a couple of 1” or 0.5” brushes for grooves that the roller doesn’t reach
- Small or large roller paint tray
- Sandwich/freezer bags or cling film for your rollers and brushes
- Low tack masking tape like Deltec Purple
- Paint sprayer - optional if you want to spray your kitchen rather than paint by hand (check out Screwfix.ie for sprayers). Fusion works perfectly in a sprayer and shouldn't require thinning, but please follow your own sprayers instructions.
- White spirit and/or methylated spirits depending on your products used.
- A microfibre damp cloth or wet wipes are useful to have closeby.
Details about Fusion Mineral Paint can be found here
I think I've covered everything, or the most important points anyway. If you have any questions about this blog, please don't hesitate to get in touch.
Thanks for reading. Bev
Comments